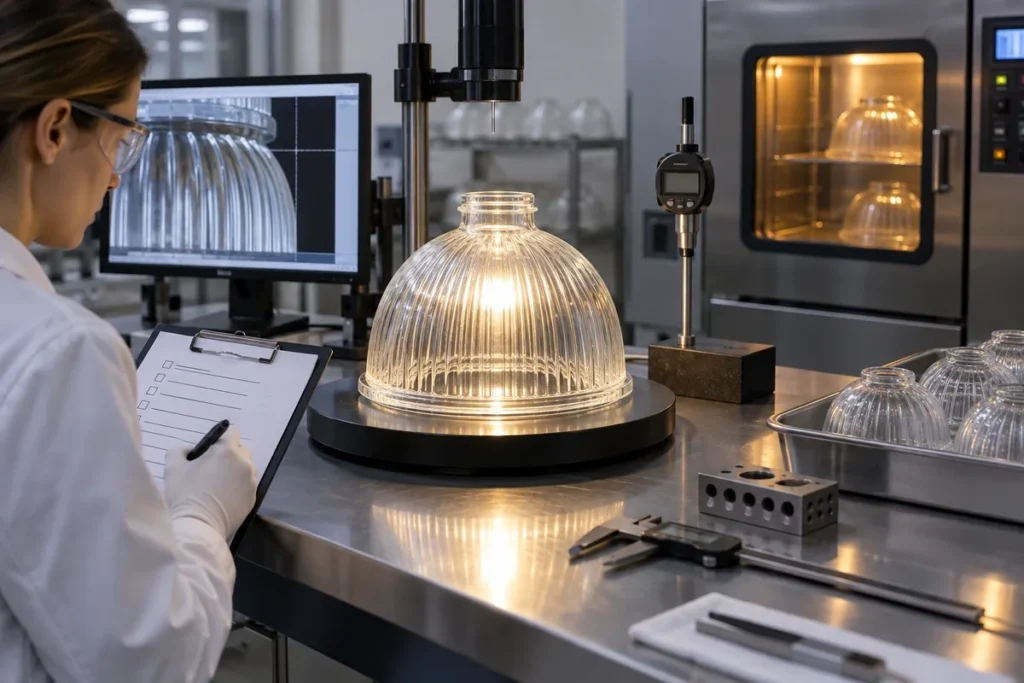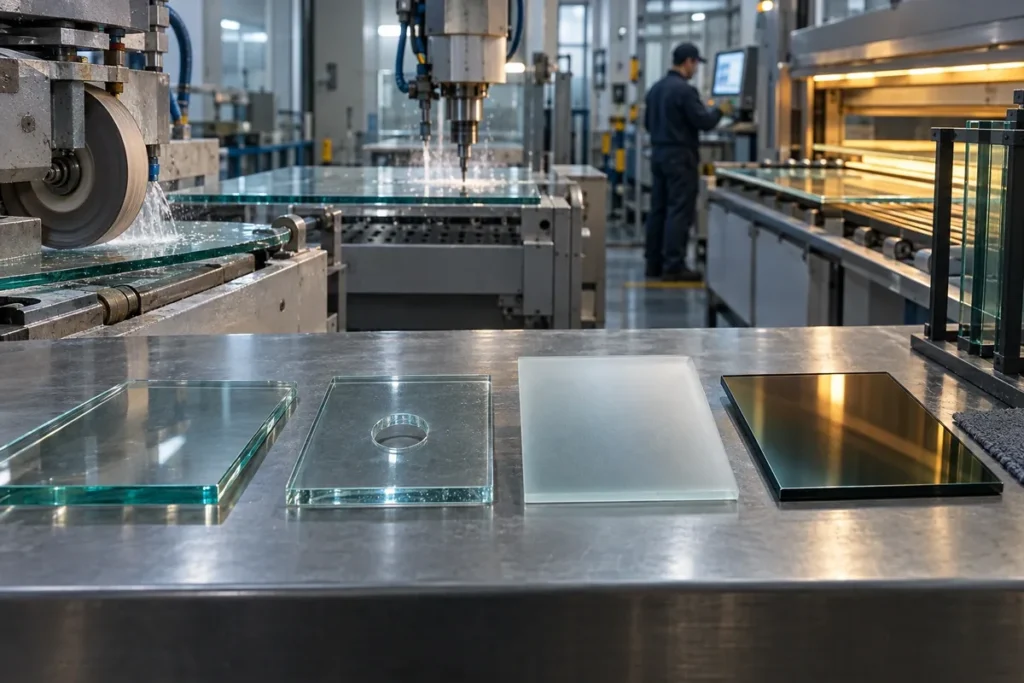
Custom pressed glass lamp shades are engineered parts, not simply decorative shells. A successful specification must connect the desired appearance and light distribution with the neck, opening, wall profile, mold parting line, glass composition, finishing route and inspection method. When those requirements are defined together, the supplier can assess manufacturability before tooling begins and avoid expensive changes after sampling.
Key Takeaways
- Start with the function of the shade: diffusion, beam shaping, environmental protection, decoration, or a combination.
- Dimension the mounting interface and critical optical surfaces separately from non-critical decorative geometry.
- Select glass and finishing as a system; color, frosting, coating and tempering can change the process route.
- Define how the first sample and production lots will be judged before approving the mold.
What Information Should a Pressed Glass Shade Drawing Include?
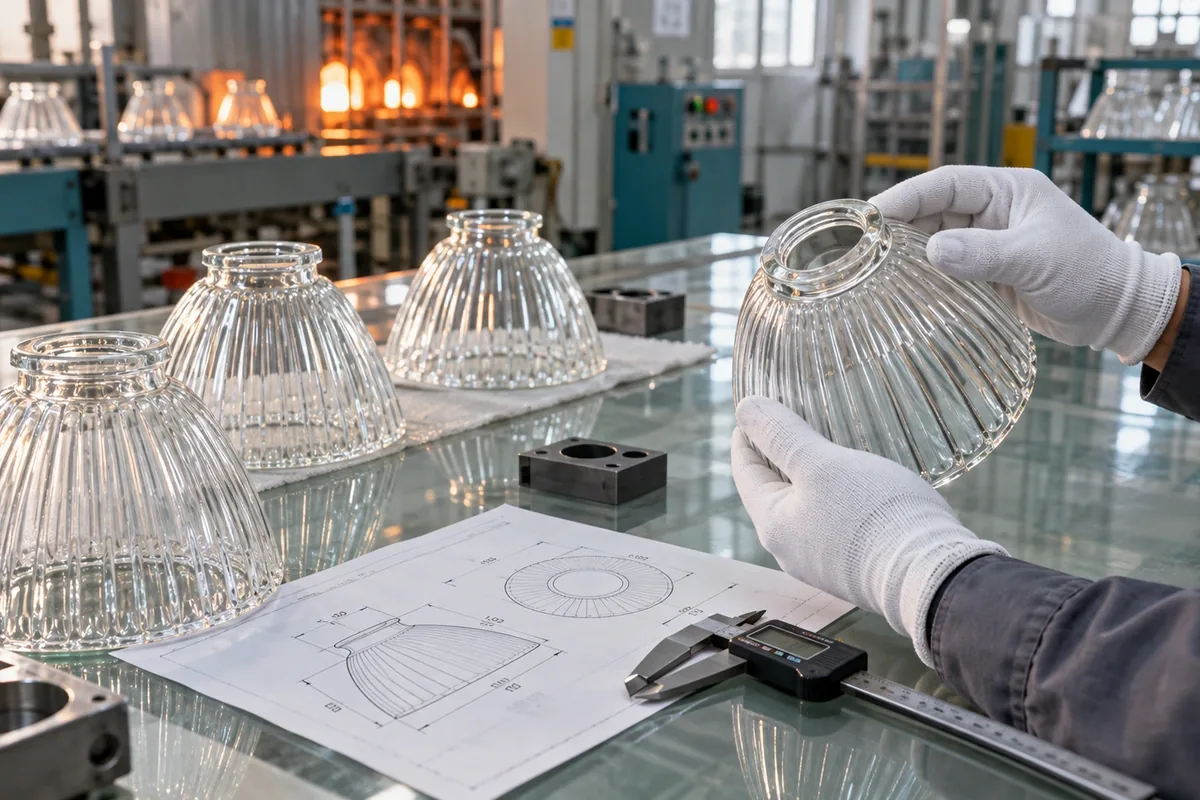
The drawing should establish the overall height, maximum outside diameter, mounting opening, neck or rim geometry, wall intent, draft direction and any keep-clear zones. Identify the surfaces that locate against a holder, gasket or retaining ring. A nominal wall value alone is not enough for a three-dimensional pressing: transitions, ribs, corners and the path of glass flow also affect local thickness.
Use datums that match the way the shade will be assembled and inspected. If concentricity matters, relate the optical body and the mounting opening to a common axis. If the shade must fit an existing luminaire, provide the mating component or its controlled drawing. STEP files help with geometry, but a dimensioned PDF remains important because it records tolerances, finish notes and acceptance criteria.
Translate Lighting Intent into Manufacturable Features
Pressed patterns can diffuse a bright source, soften glare, create decorative highlights or redirect part of the flux. Radial ribs, prisms and stippled textures do not behave identically. The pattern location, pitch, depth and transition into the plain mounting area should be discussed with the mold designer. A texture that looks attractive while unlit may produce visible hot spots when placed close to an LED board.
Ask for evaluation in both states: unlit appearance and illuminated performance. For a new optical texture, a prototype or pilot mold may be more informative than a rendering. The LED type, source-to-glass distance, reflector geometry, target beam and observation distance should accompany the shade drawing.
Choose Glass, Color and Surface Finish Together
| Decision | What it controls | Questions to resolve |
|---|---|---|
| Glass family | Thermal behavior, forming window, optical appearance and cost | Operating temperature, thermal cycling, impact environment and regulatory needs |
| Body color | Transmission, ambience and visual identity | Clear, opal, amber or drawing-specific color target |
| Molded texture | Permanent surface relief and light redistribution | Inside or outside surface, pattern pitch, depth and transition zone |
| Secondary finish | Diffusion, feel, durability or appearance | Frosting, sandblasting, coating or other treatment; masked areas |
| Strengthening route | Service margin and breakage behavior | Whether the geometry and material are compatible with the requested treatment |
Soda-lime glass is widely used for general lighting, while borosilicate may be considered where thermal conditions justify it. The final material must be confirmed against the actual product geometry and service environment. Avoid specifying a material name without also describing the temperature cycle and mechanical loading that led to the choice.
Plan Tooling, Samples and Production Inspection
A production mold must create the part and allow it to release consistently. Draft, radii, parting lines, mold vents, transfer marks and trimming access therefore belong in the design review. Cosmetic zones should be classified so that normal forming evidence is not confused with a functional defect. For a threaded or retained shade, use functional gauges whenever possible.
First-article approval should cover dimensional measurements, mounting fit, surface appearance and an illuminated review with the intended light source. Production control can then focus on the characteristics that are actually critical: opening diameter, seating face, overall envelope, obvious stones or cords, finish uniformity and any specified optical comparison.
How China Lampoptics Supports Custom Shade Development
China Lampoptics reviews customer drawings and samples for mold development, pressed-glass forming and relevant secondary operations. The review focuses on the mounting interface, producible geometry, glass and finish selection, inspection method and the information still required before quotation. Available process routes are confirmed against the final drawing rather than assumed from a generic capability list.
For the fastest review, send the 2D drawing, 3D model if available, target annual quantity, sample requirement, operating conditions, finish standard and photographs of the mating luminaire. These details let engineering questions be resolved before a tooling proposal is issued.
Watch: A Related Glass or Optics Process
This Corning process video shows how carefully controlled glass temperature and forming conditions influence repeatability. Fusion drawing is not the same process as pressing a lamp shade, but the material-control principles make a useful technical comparison.
Related Products and Capabilities
Continue Reading
Discuss Your Custom Pressed Glass Lamp Shades Project
Send your drawing, application conditions, quantity and the characteristics that matter most. China Lampoptics will review the information and identify the open technical items before quotation.
Contact China Lampoptics